Welcome to Us2.ai! This guide will help you get started with uploading and managing your ultrasound studies. You'll learn how to upload studies, access help resources, and contact support.
Table of contents
Getting Started
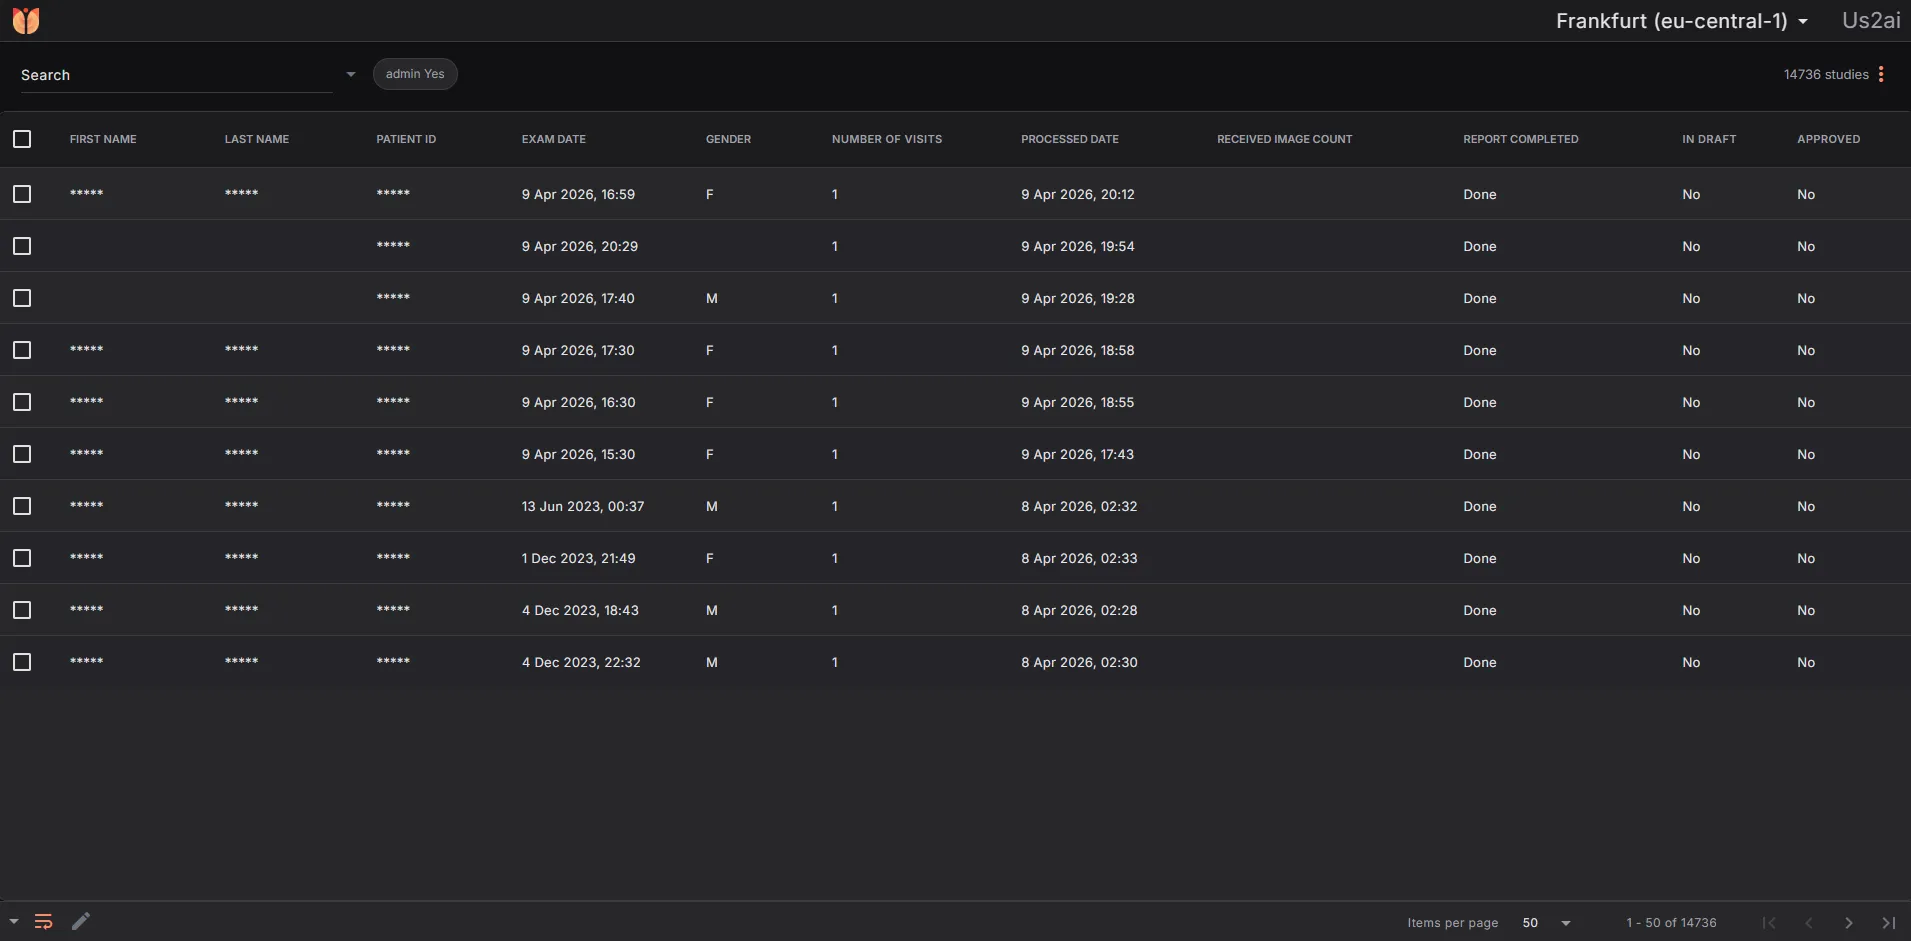
Demo Studies
Your account comes pre-loaded with demo studies so you can explore the platform immediately. These studies demonstrate the key features and workflows available in Us2.ai.
To view demo studies:
- Log in to your account
- Navigate to the Studies list
- Look for studies labeled as "Demo"
Uploading new studies
Supported Formats & Requirements
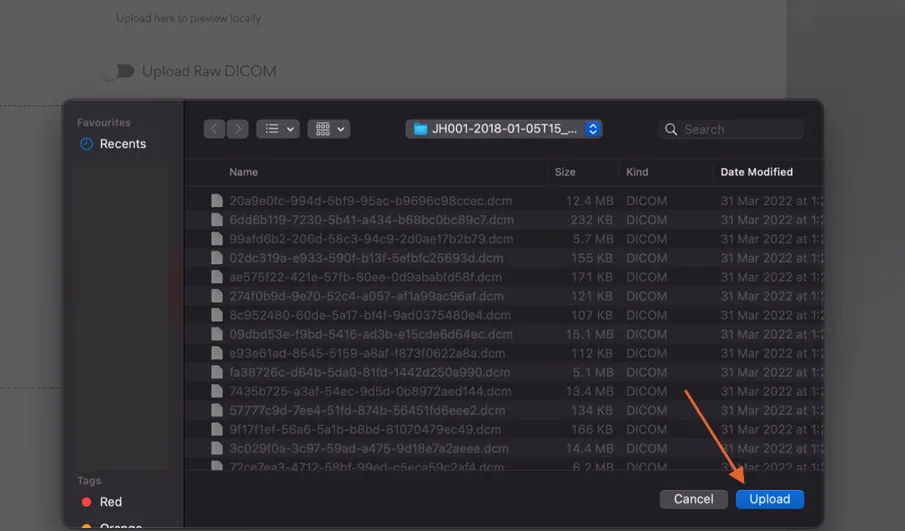
- File format: DICOM files
- Upload methods: Drag & drop or folder selection
- Browser requirements: Latest versions of Google Chrome or Microsoft Edge
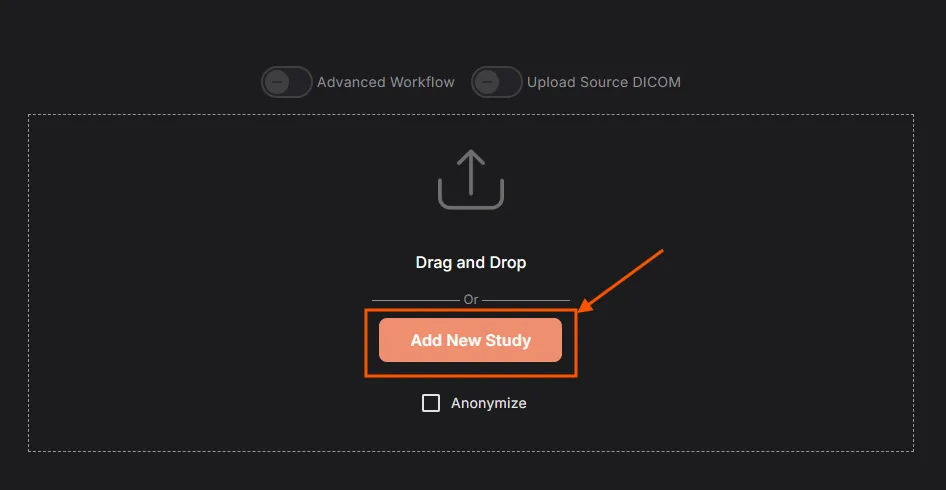
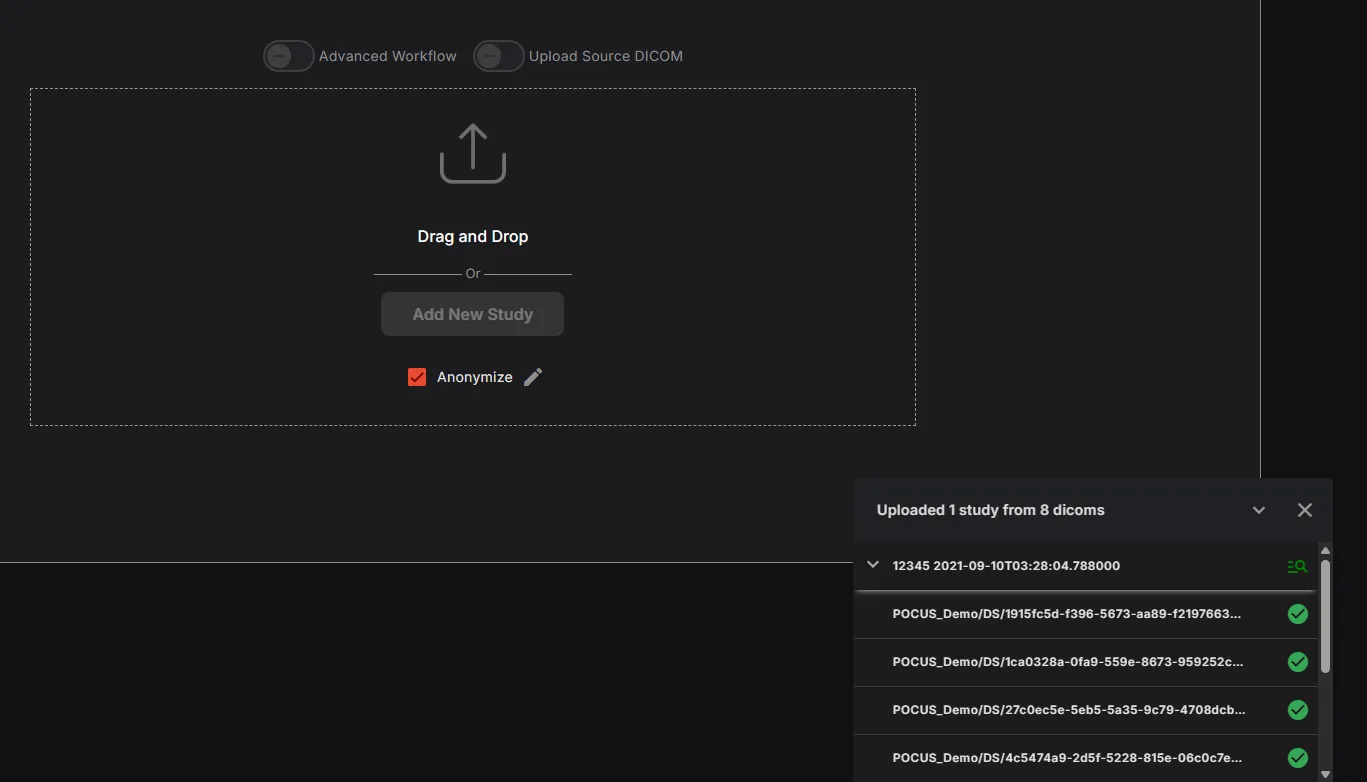
How to Upload a Study
- Click on your username in the top navigation
- Select EchoLoader from the dropdown menu
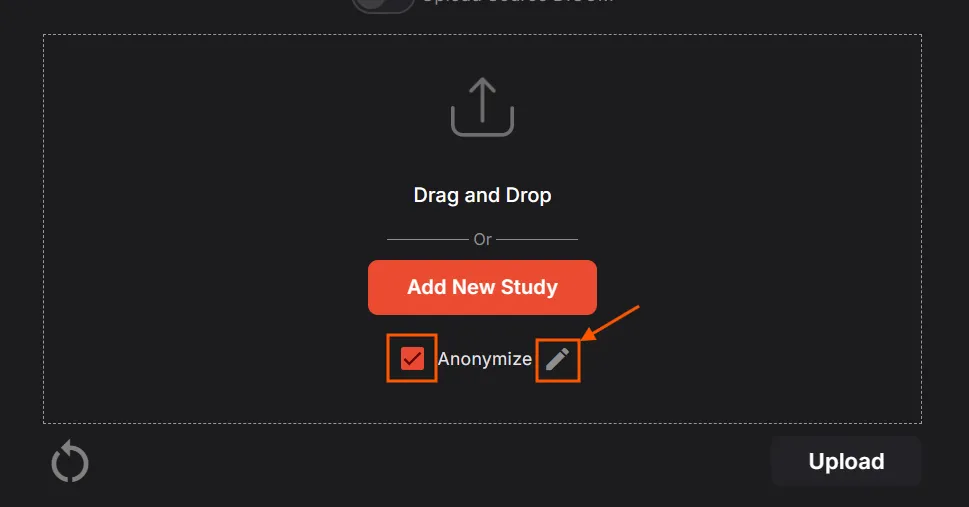
- Choose one of two upload methods:
- Drag and drop: Simply drag DICOM files directly into the EchoLoader window
- Browse folders: Click Add New Study button to select a folder
- If using Add New Study, select the folder containing your study or studies and click Upload
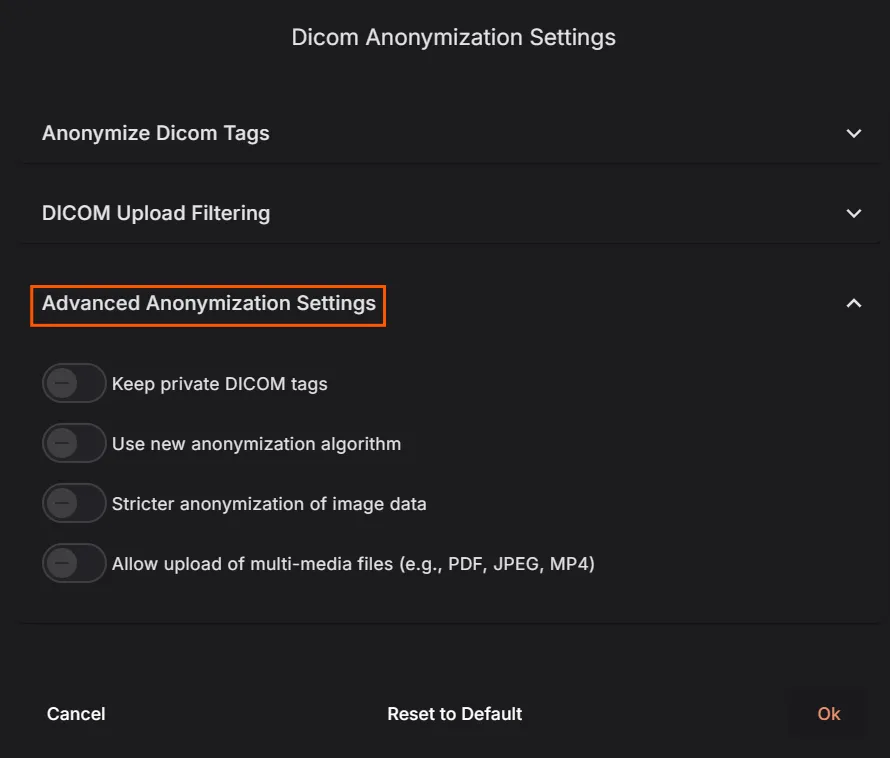
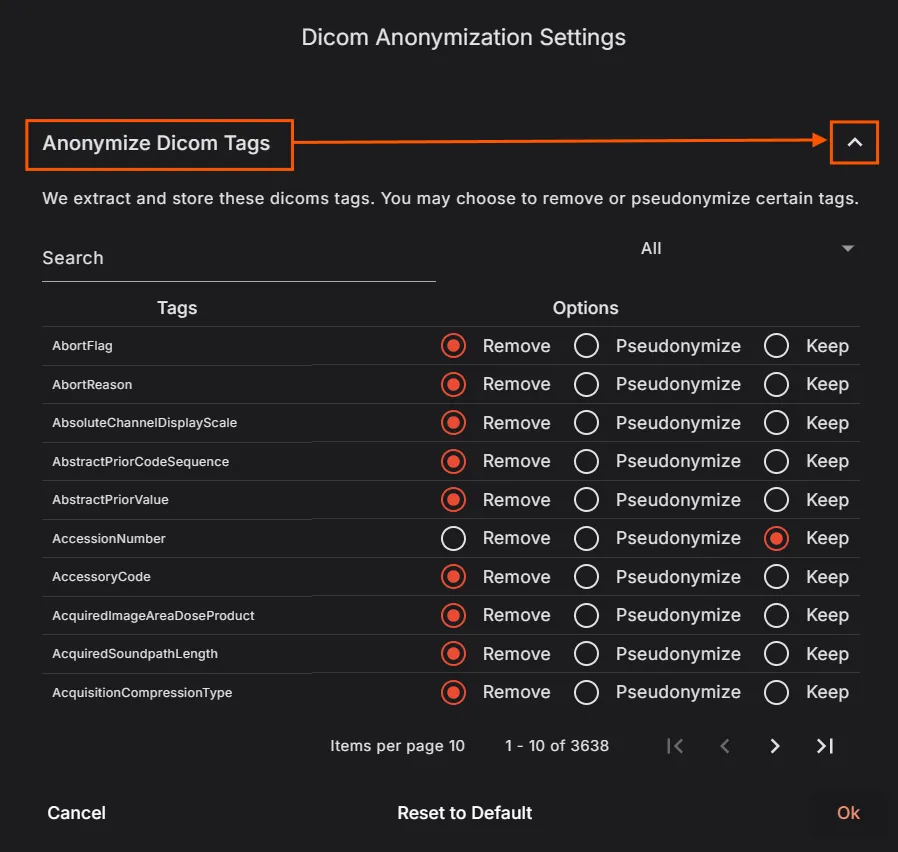
DICOM Anonymization Settings
During your first upload, you'll be prompted to configure DICOM tag anonymization. This ensures patient privacy and data security.
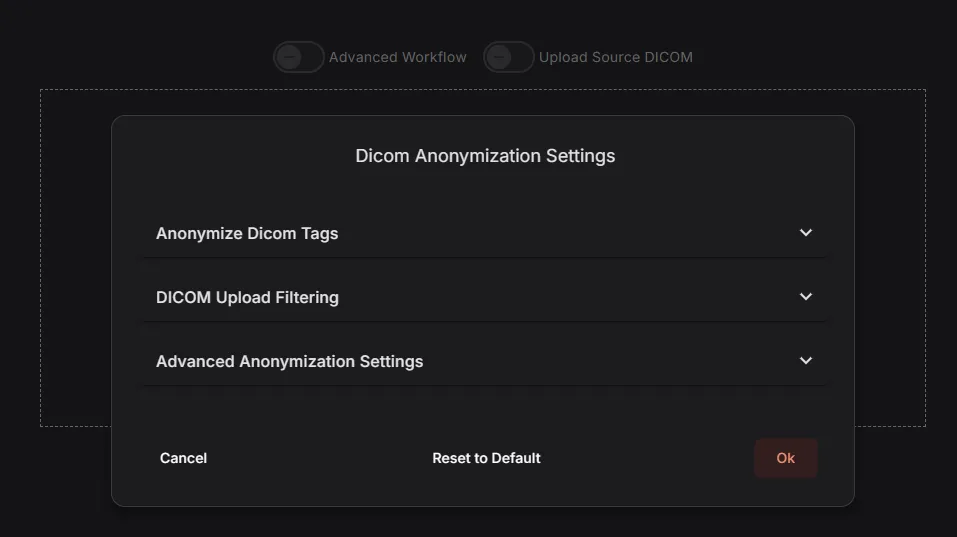
For each DICOM tag, you can choose to:
- Remove: Completely remove the tag from uploaded files
- Pseudonymize: Apply a one-way hash to the Patient ID (Us2.ai can still link studies from the same patient)
- Keep: Retain the original value
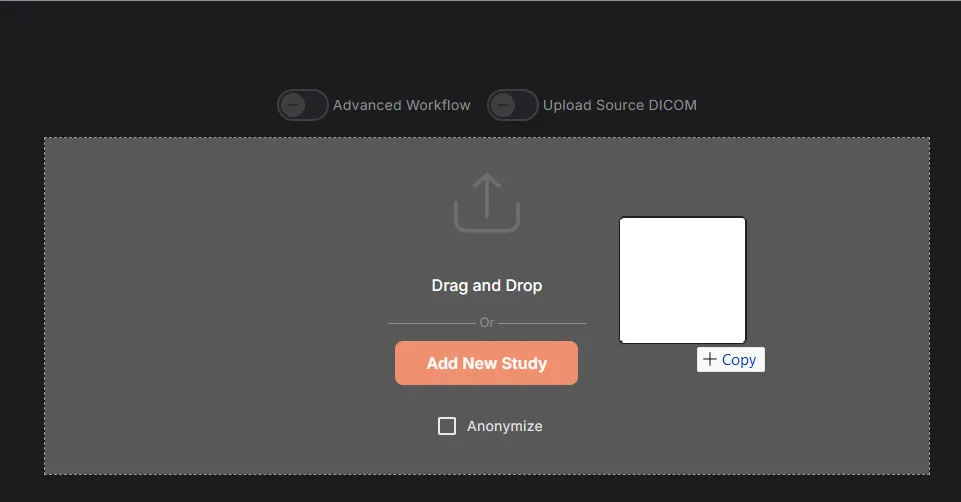
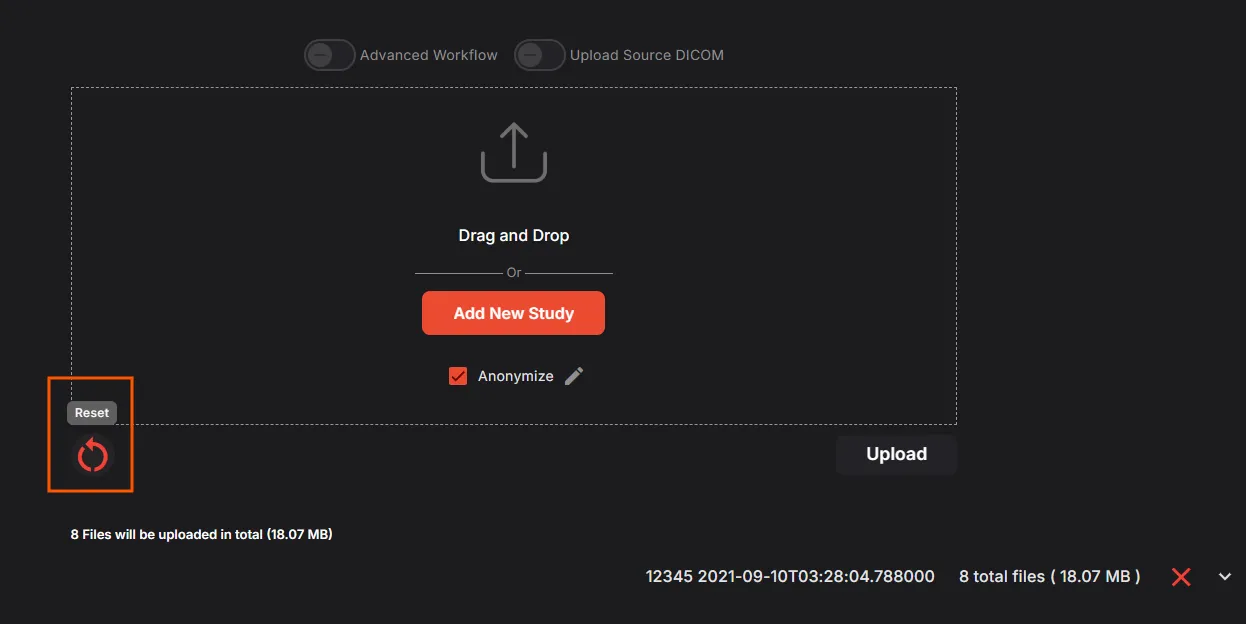
Review and customize your upload:
- Remove individual DICOM files by clicking the X icon next to each file
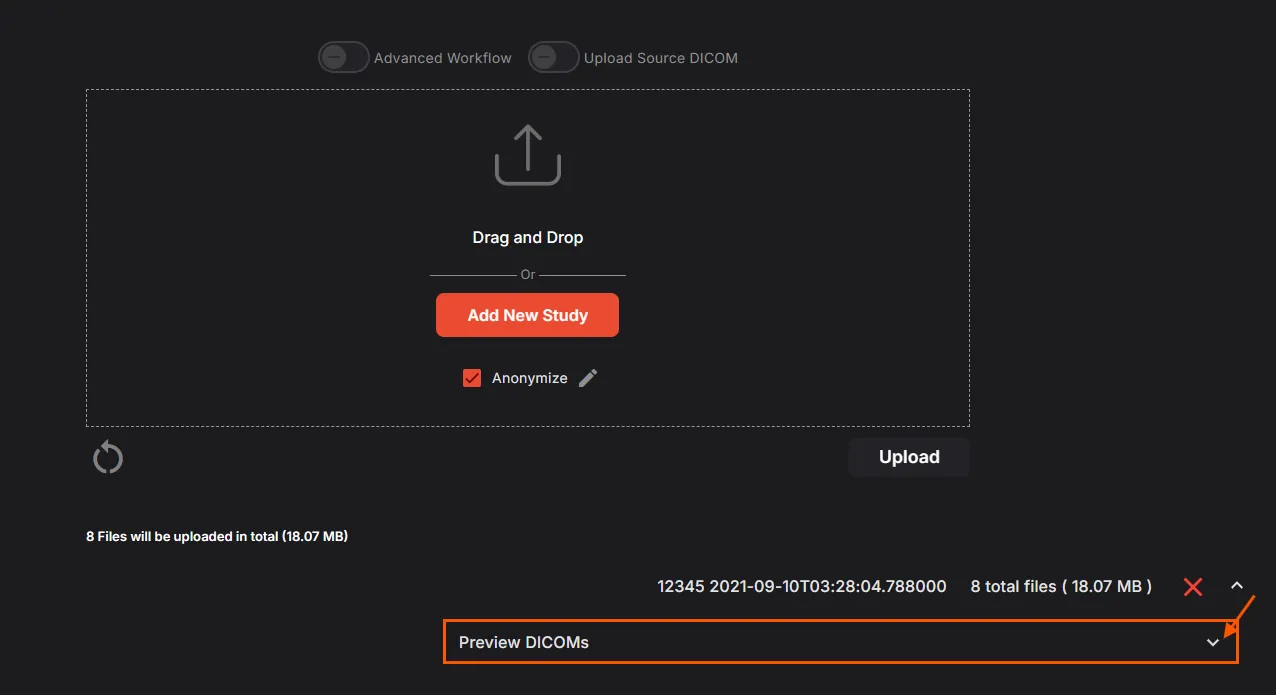
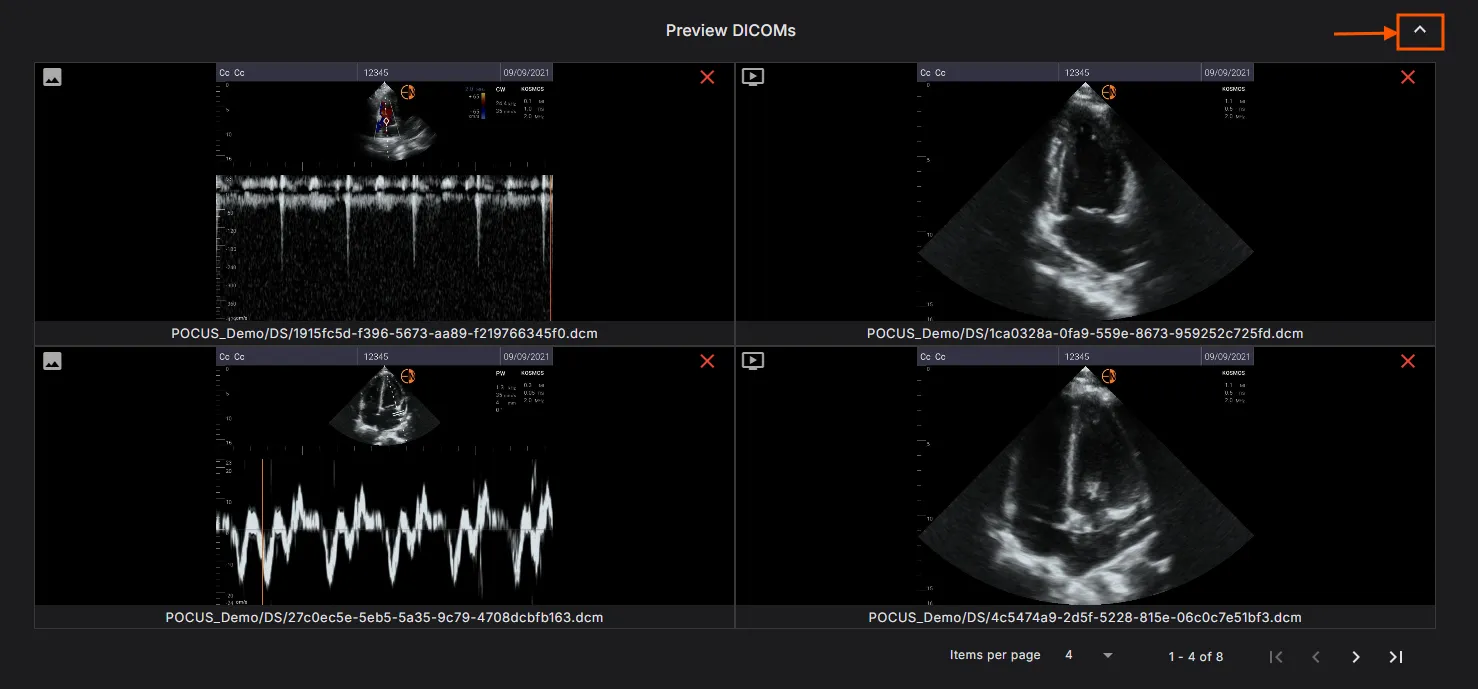
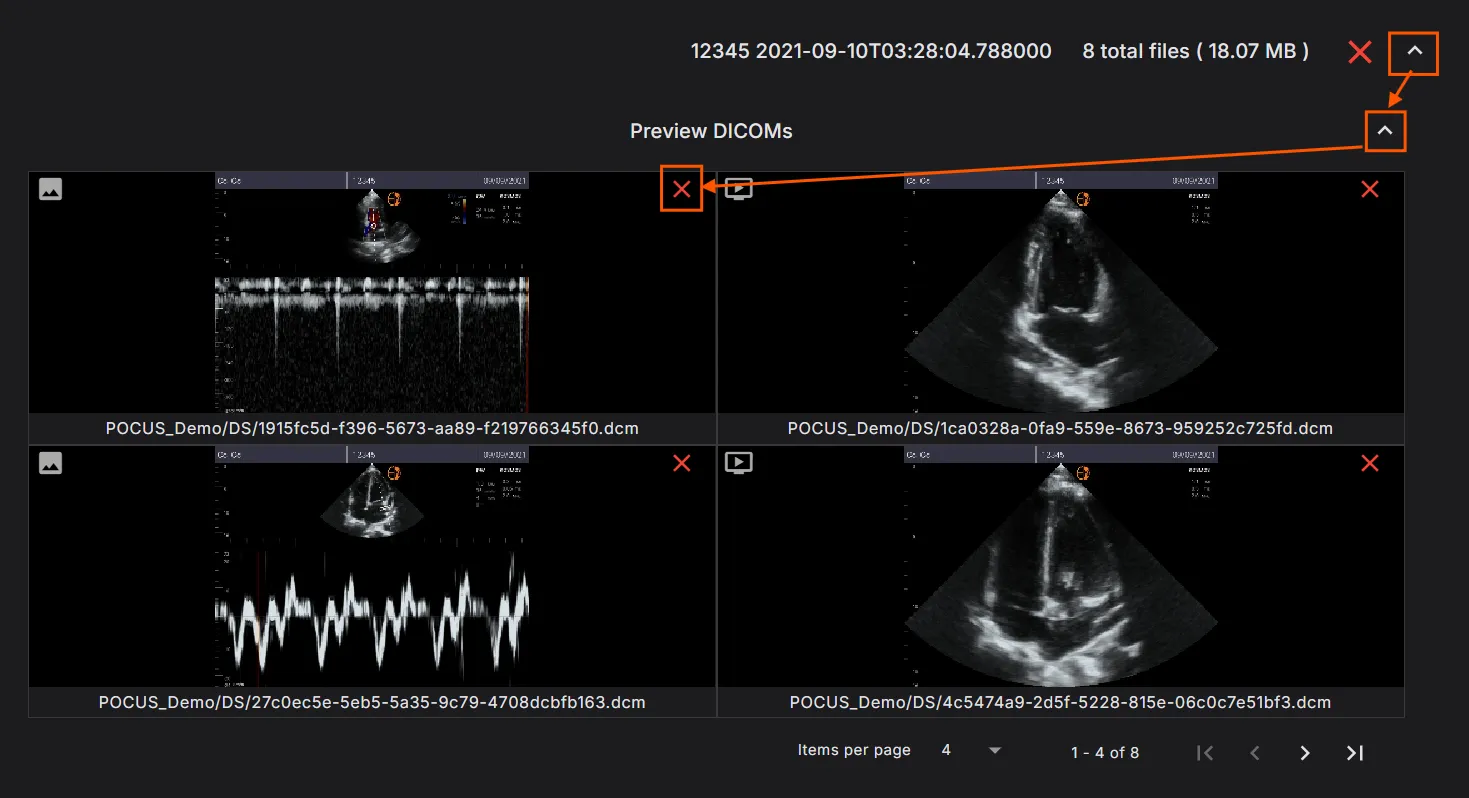
- Click Reset (circular arrow icon) to clear the entire upload and start over
During Upload
You'll see a progress screen showing the upload status:
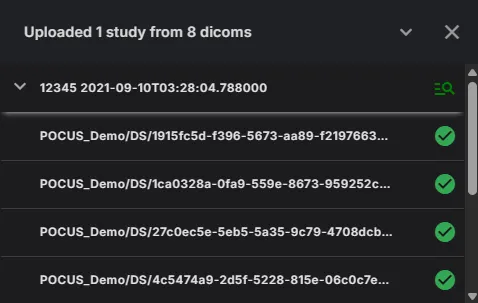
When upload completes:
- Click View study to immediately review the uploaded study
- The study will appear in your Studies list
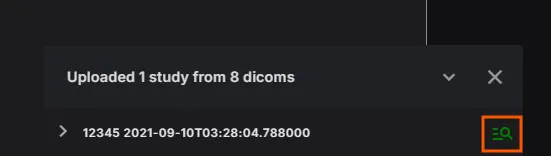
Handling Duplicate Studies
If an existing exam with the same Patient ID is found, you'll see this notification:
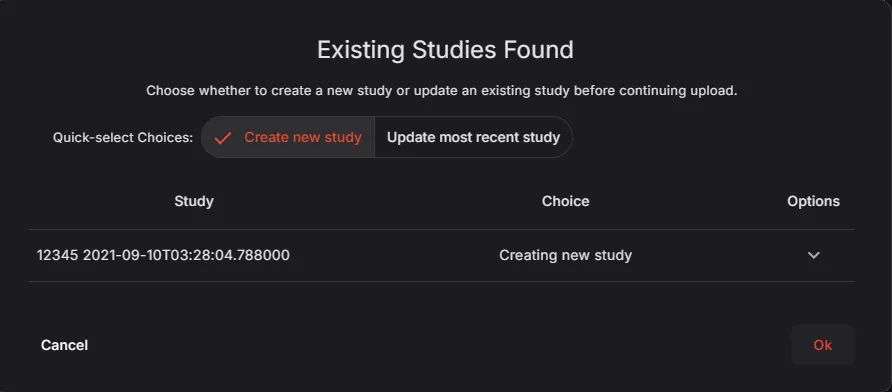
Choose one option:
- Create new exam: Upload as a separate, new study
- Update existing: Add or replace images in the existing study
Troubleshooting Upload Issues
If you've followed the steps above and the upload is still failing, please try these steps:
b. Attempt the upload again from a different computer
Getting Help
Access Help Resources
Click on your username and select Help to access:
Available help options:
- Contact Information: Direct email and phone support
- User Guides: Comprehensive documentation in multiple languages
- Video Tutorials: Step-by-step demonstrations of key features

User Guides
Access detailed user guides in your preferred language:
Video Tutorials
Watch demonstration videos covering:
- Platform navigation
- Study upload and management
- Analysis and reporting features
- Advanced workflows
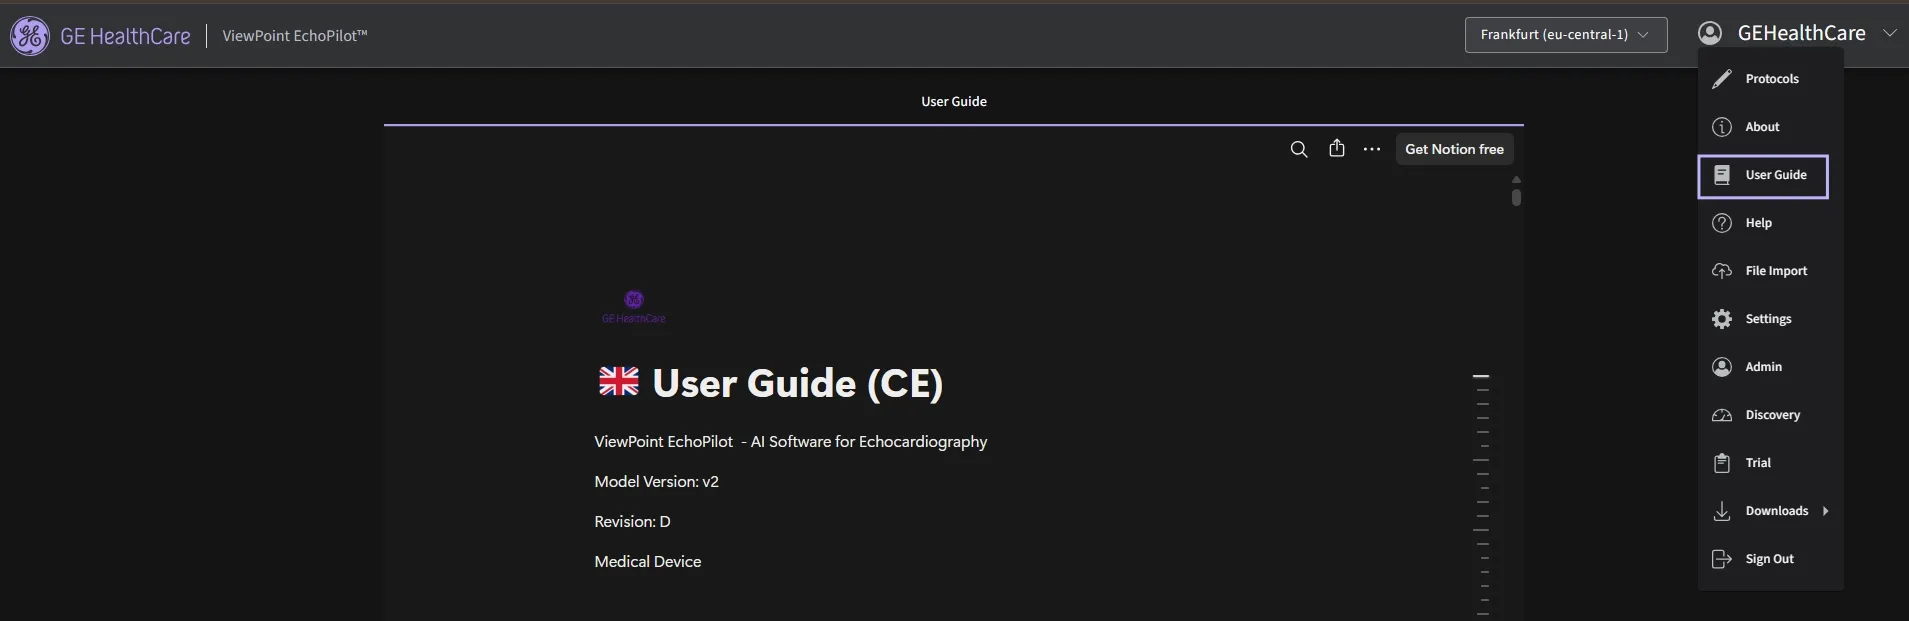
Various languages of the User Guides are also available to you through the ‘User Guide’ tab.
If you would like to explore the full range of features within the Us2.ai application, you may refer to the User Guide.
Enable Remote Access
You can follow this guide to allow Us2.ai admins to provide remote support access to your account.
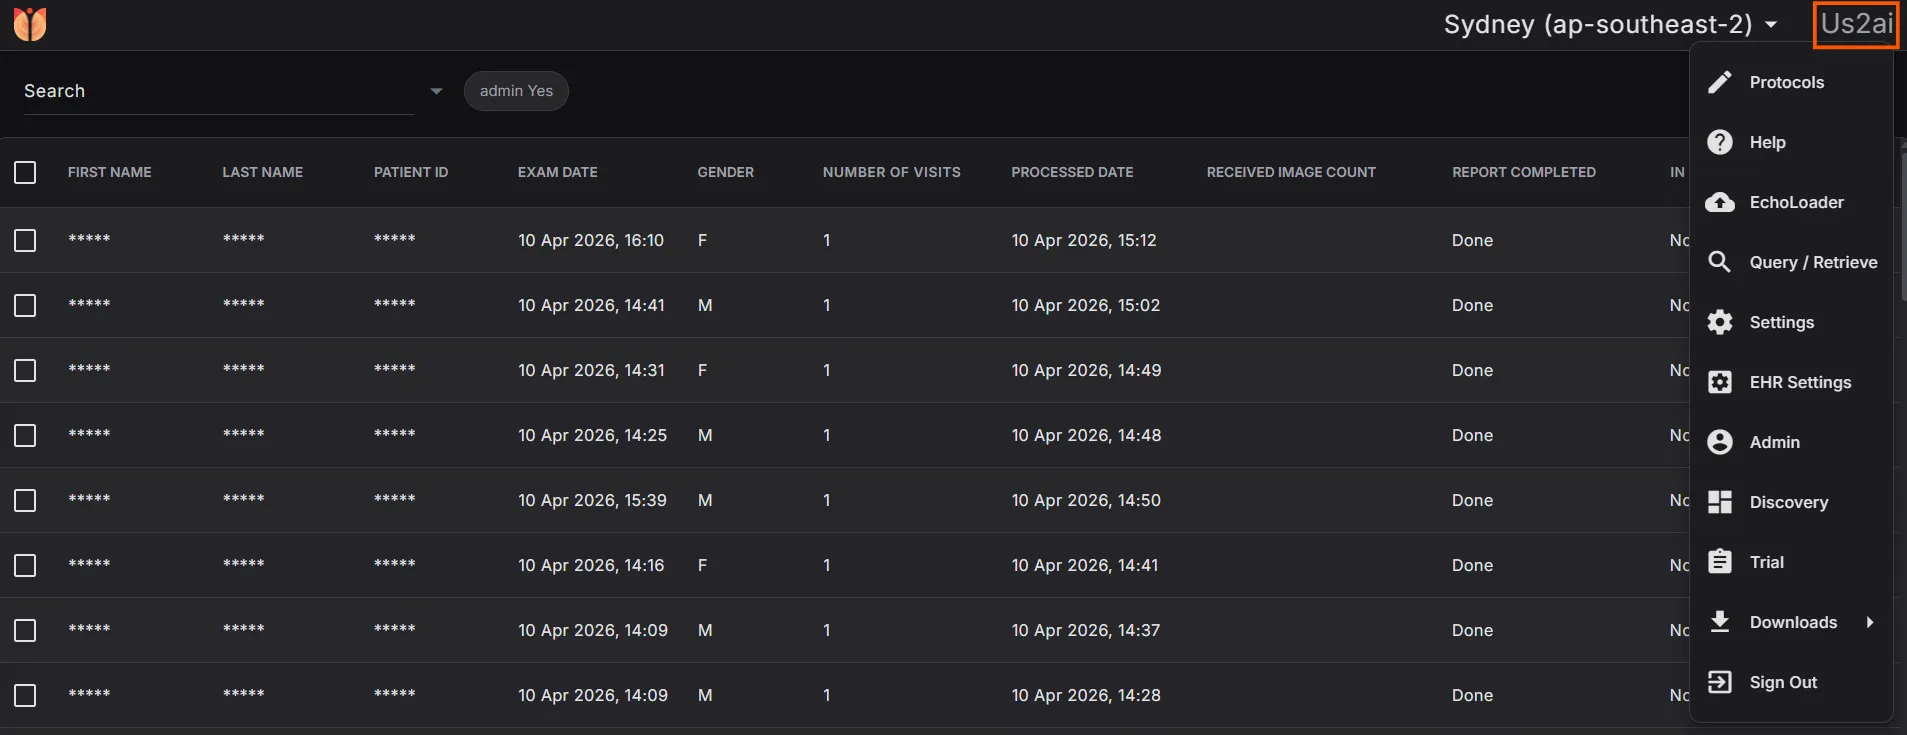
Step 1: Access Your Profile
- Click on your username (e.g., "Us2ai") at the top right of the application.
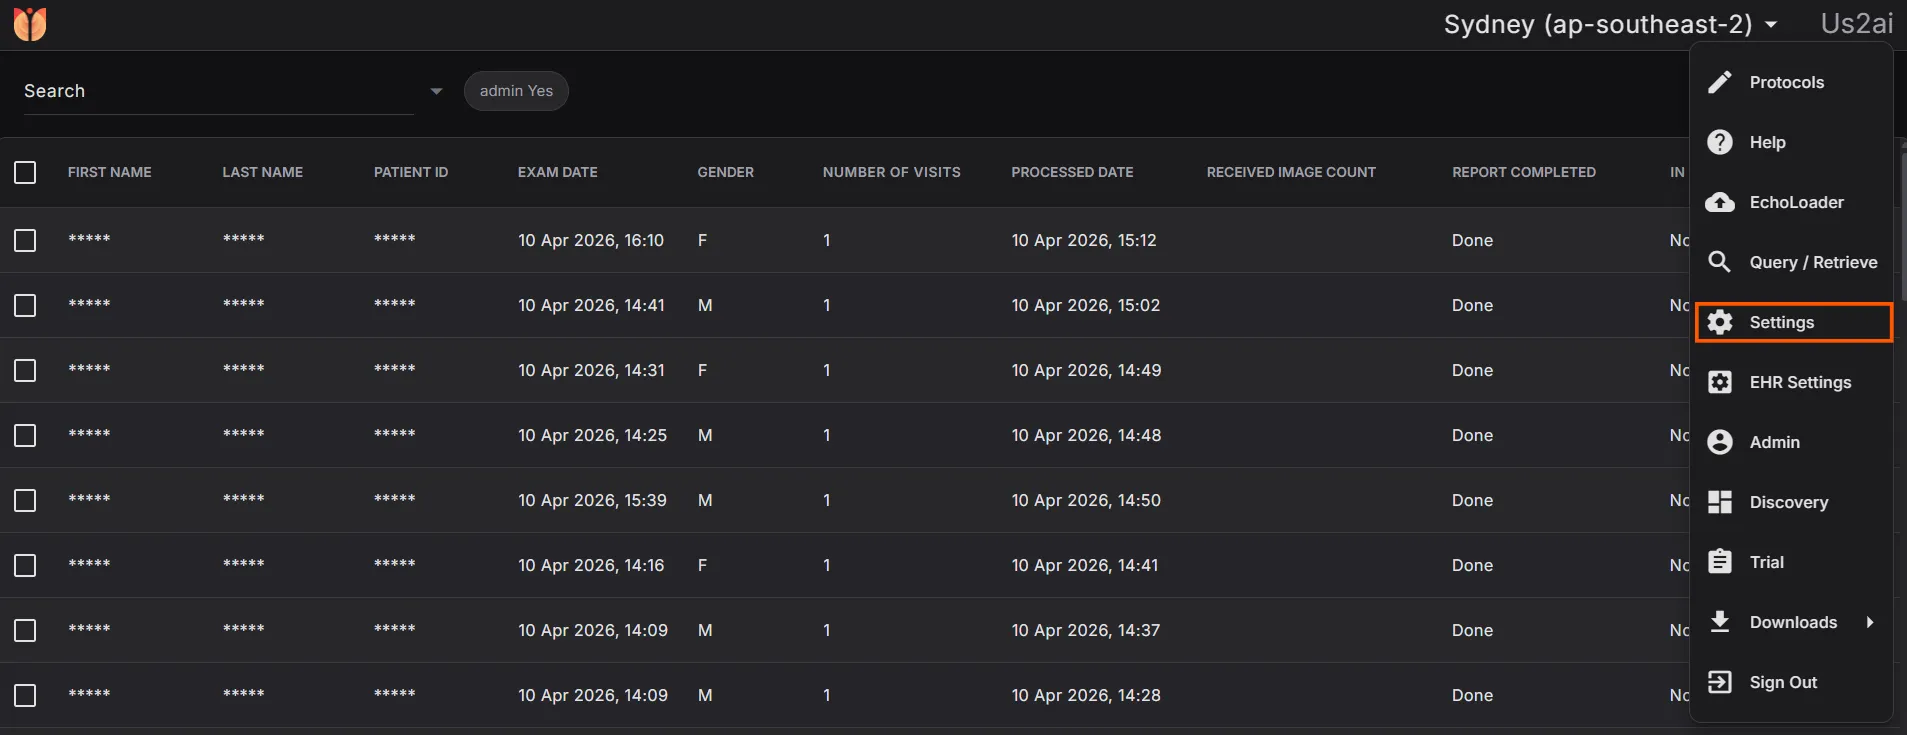
Step 2: Open Settings
- From the dropdown menu, select "Settings".
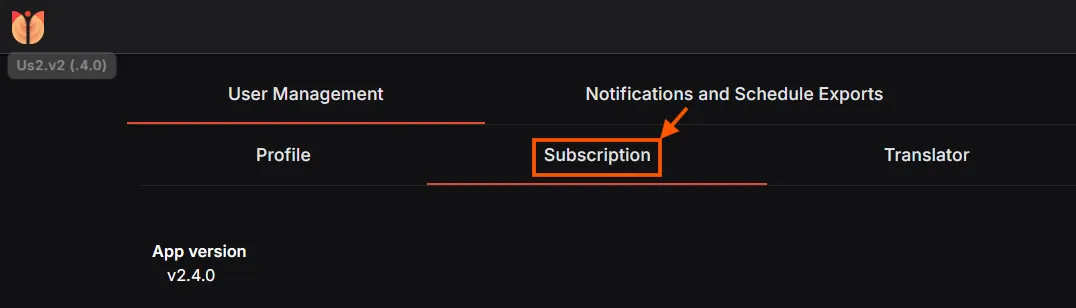
Step 3: Go to Subscription
- Within Settings, navigate to the "Subscription" tab.
Step 4: Enable Remote Support
- Locate the option: "Allow admins to provide remote support"
- Toggle this option ON
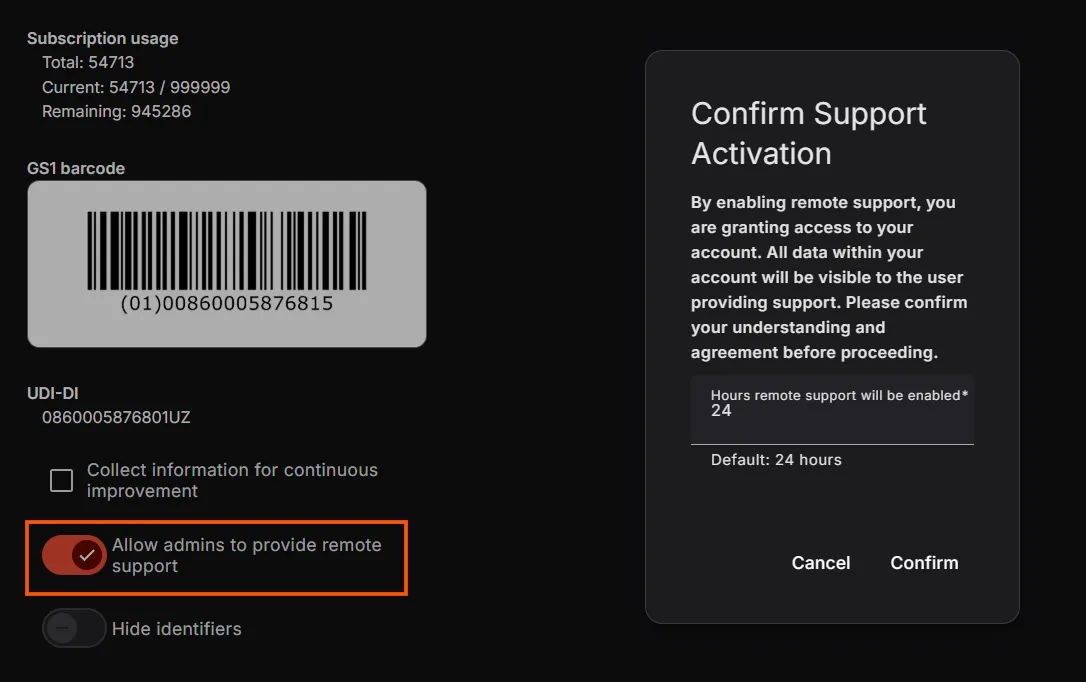
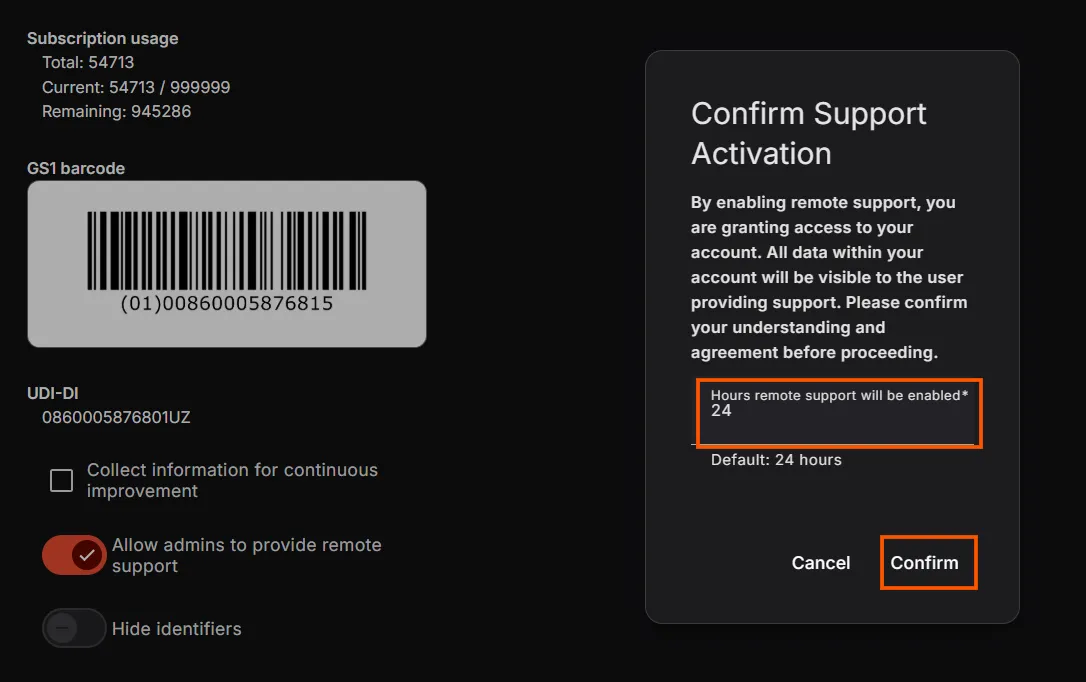
Step 5: Confirm Activation
- Click "Confirm" to activate remote support access.
Notes
- Enabling this allows admins to temporarily access your account for troubleshooting and support.
- You can disable this option anytime by toggling it off.
Contact Support
Need additional assistance? Our support team is here to help.
Email: support@us2.ai
Revision: E